Patterns of the Bauhaus: CSS Basics
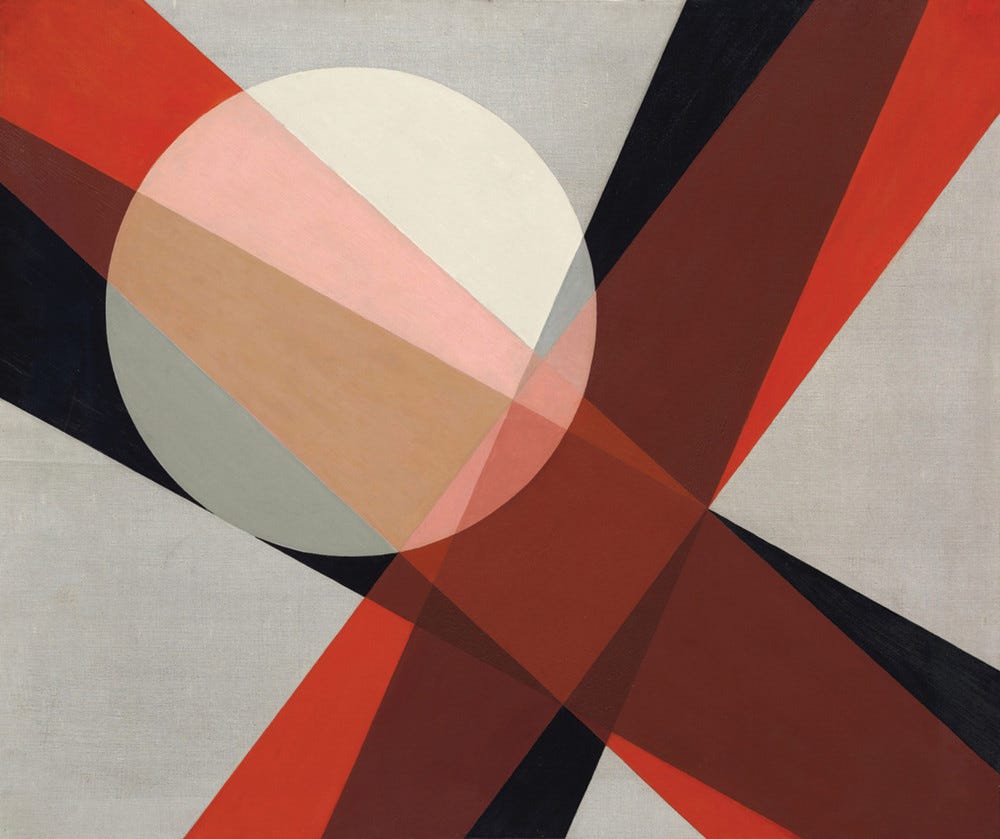
Art itself cannot be taught, but craftsmanship can. Architects, painters, sculptors are all craftsmen in the original sense of the word.
The Bauhaus was a German art school in the city of Weimar. It was started by Walter Gropius and was in operation from 1919 to 1933. Gropius’ vision for the school was laid out in the Proclamation of the Bauhaus (1919), which described a utopian craft guild combining architecture, sculpture, and painting into a single creative expression.
CSS is a language that allows you to change the appearance of HTML elements on the webpage: the size, style, and color of text; background colors; border styles and colors; even the position of elements on the page. In this lesson, we are going to use CSS to emphasize the concept of 'website as place', keeping in mind several design principles such as dominance, similarity, rhythm and contrast.
CSS Basics
What is CSS?
If HTML is a set of instructions telling the web browser what to display, CSS tells the web browser how to display it. CSS stands for Cascading Style Sheet and was invented in 1994 by Håkon Lie. It handles the presentation layer of our webpage and allows us to associate style rules with HTML elements.
It provides the browser with precise instructions on how to style each element we want displayed on the page and can affect the text format — like font, size, color — the size and position of various objects on the page, colors, spacial layouts, etc.
CSS Syntax
A CSS rule-set consists of a selector and a declaration block. Each declaration must end in a semi-colon. The selector points to the HTML element you want to style.
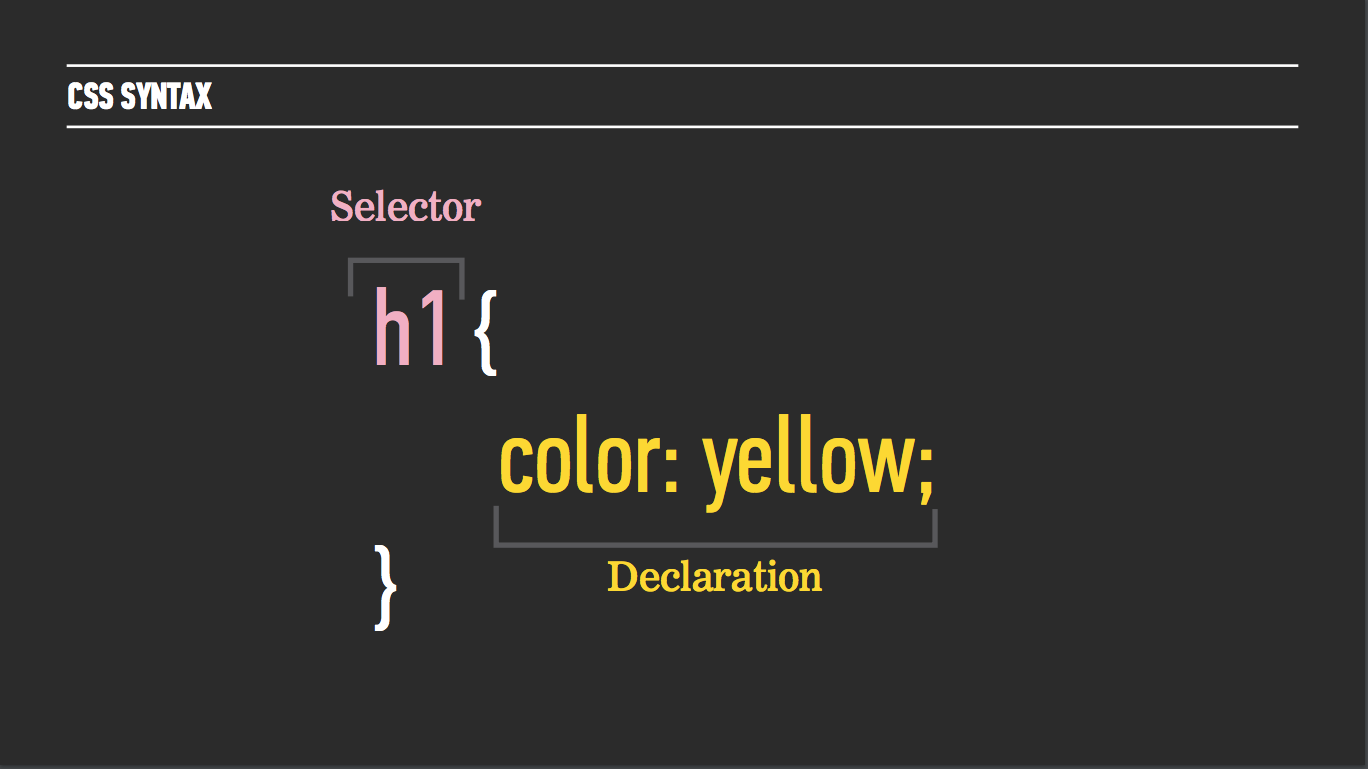
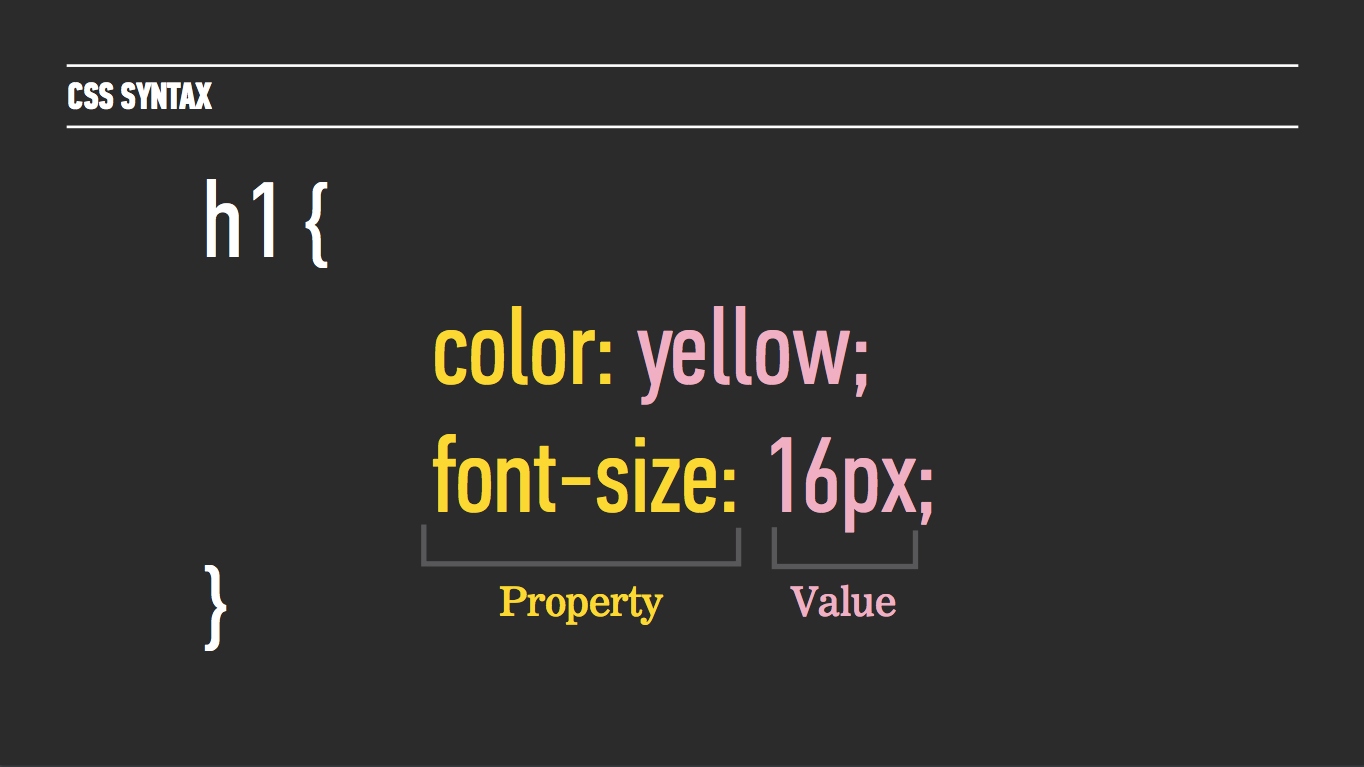
The declaration block includes a CSS property name and a value, separated by a colon.
Three Ways to Apply CSS to a Website
1. Inline
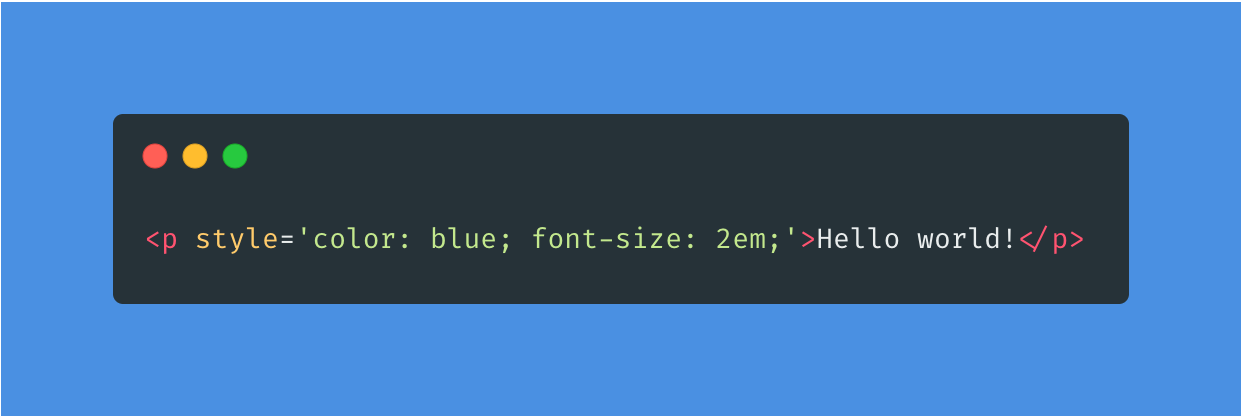
If you’re looking to add a unique style for a single HTML element, you can use an inline style by adding the style attribute to the relevant tag. The style attribute can contain any CSS property. In this example, we’re changing the paragraph text color to blue and its size to 2 ems.
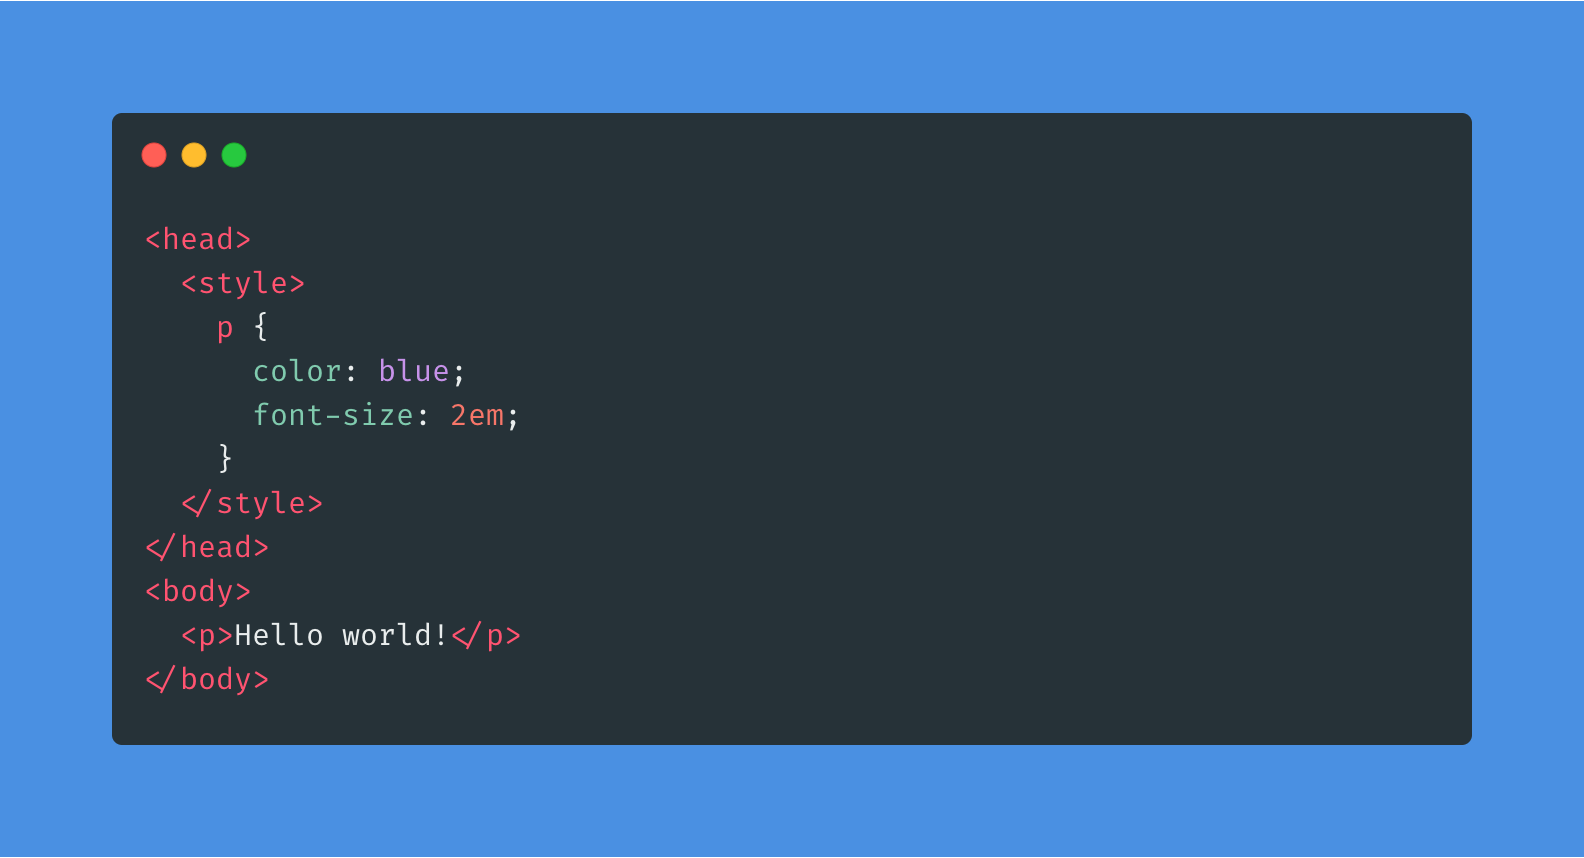
2. Embed a style tag in the head tag
You can include CSS rules by placing them inside a <style>, element, which usually sits inside the <head> tag.
3. Link to an external file using the link tag
The <link> tag should live inside the <head> of the document and tells the browser where to find the CSS file that should be used to style the web page.
index.html
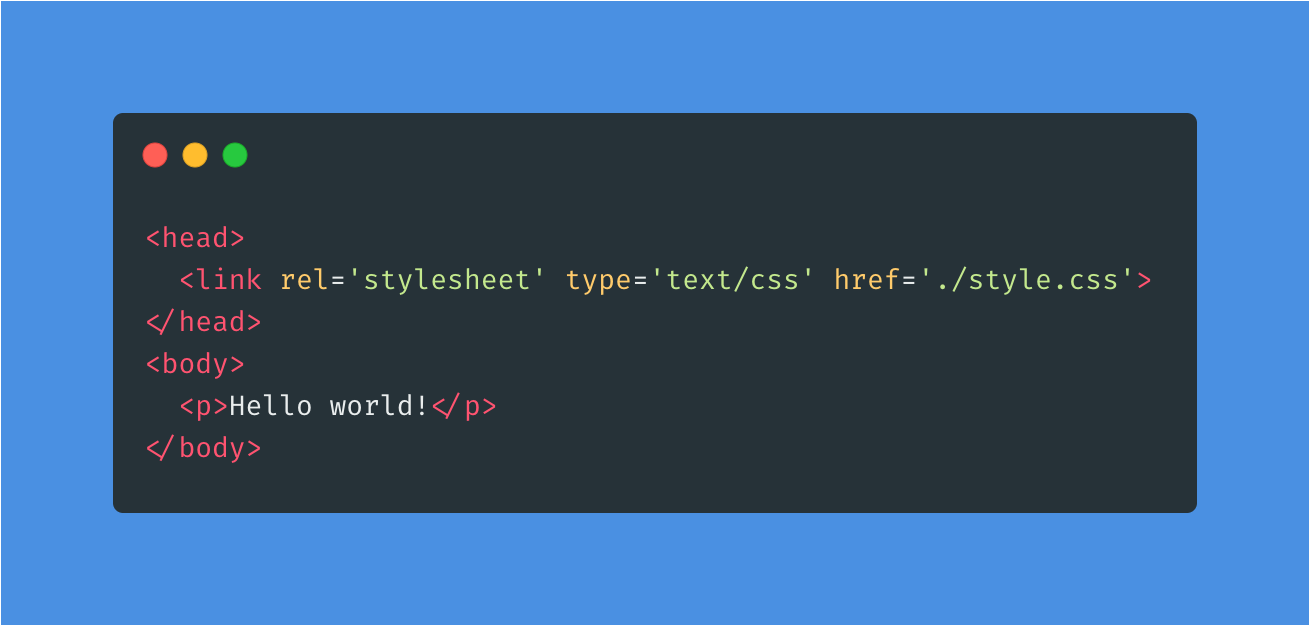
style.css
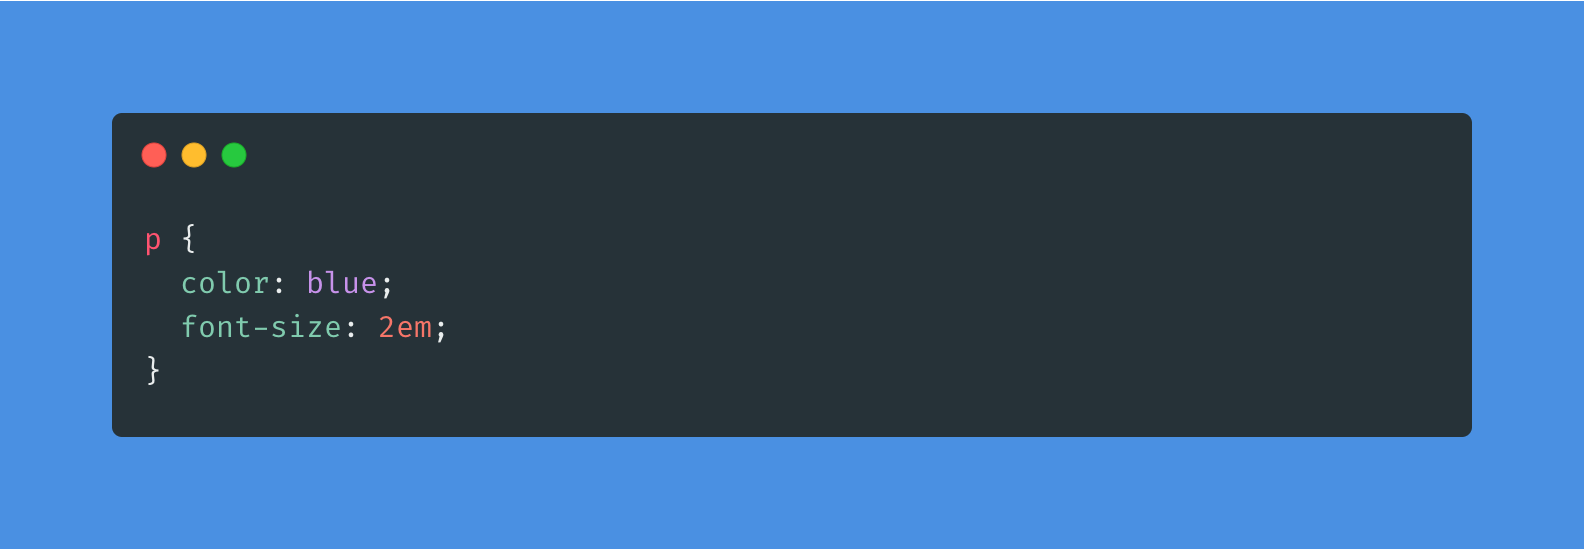
The benefit of using an external stylesheet allows you to use the same style sheet for multiple pages, e.g. if you want your About, Home and Contact pages to all have the same styling. As a result, you only have to make changes to one file.
Tutorial 2.1
Instructions
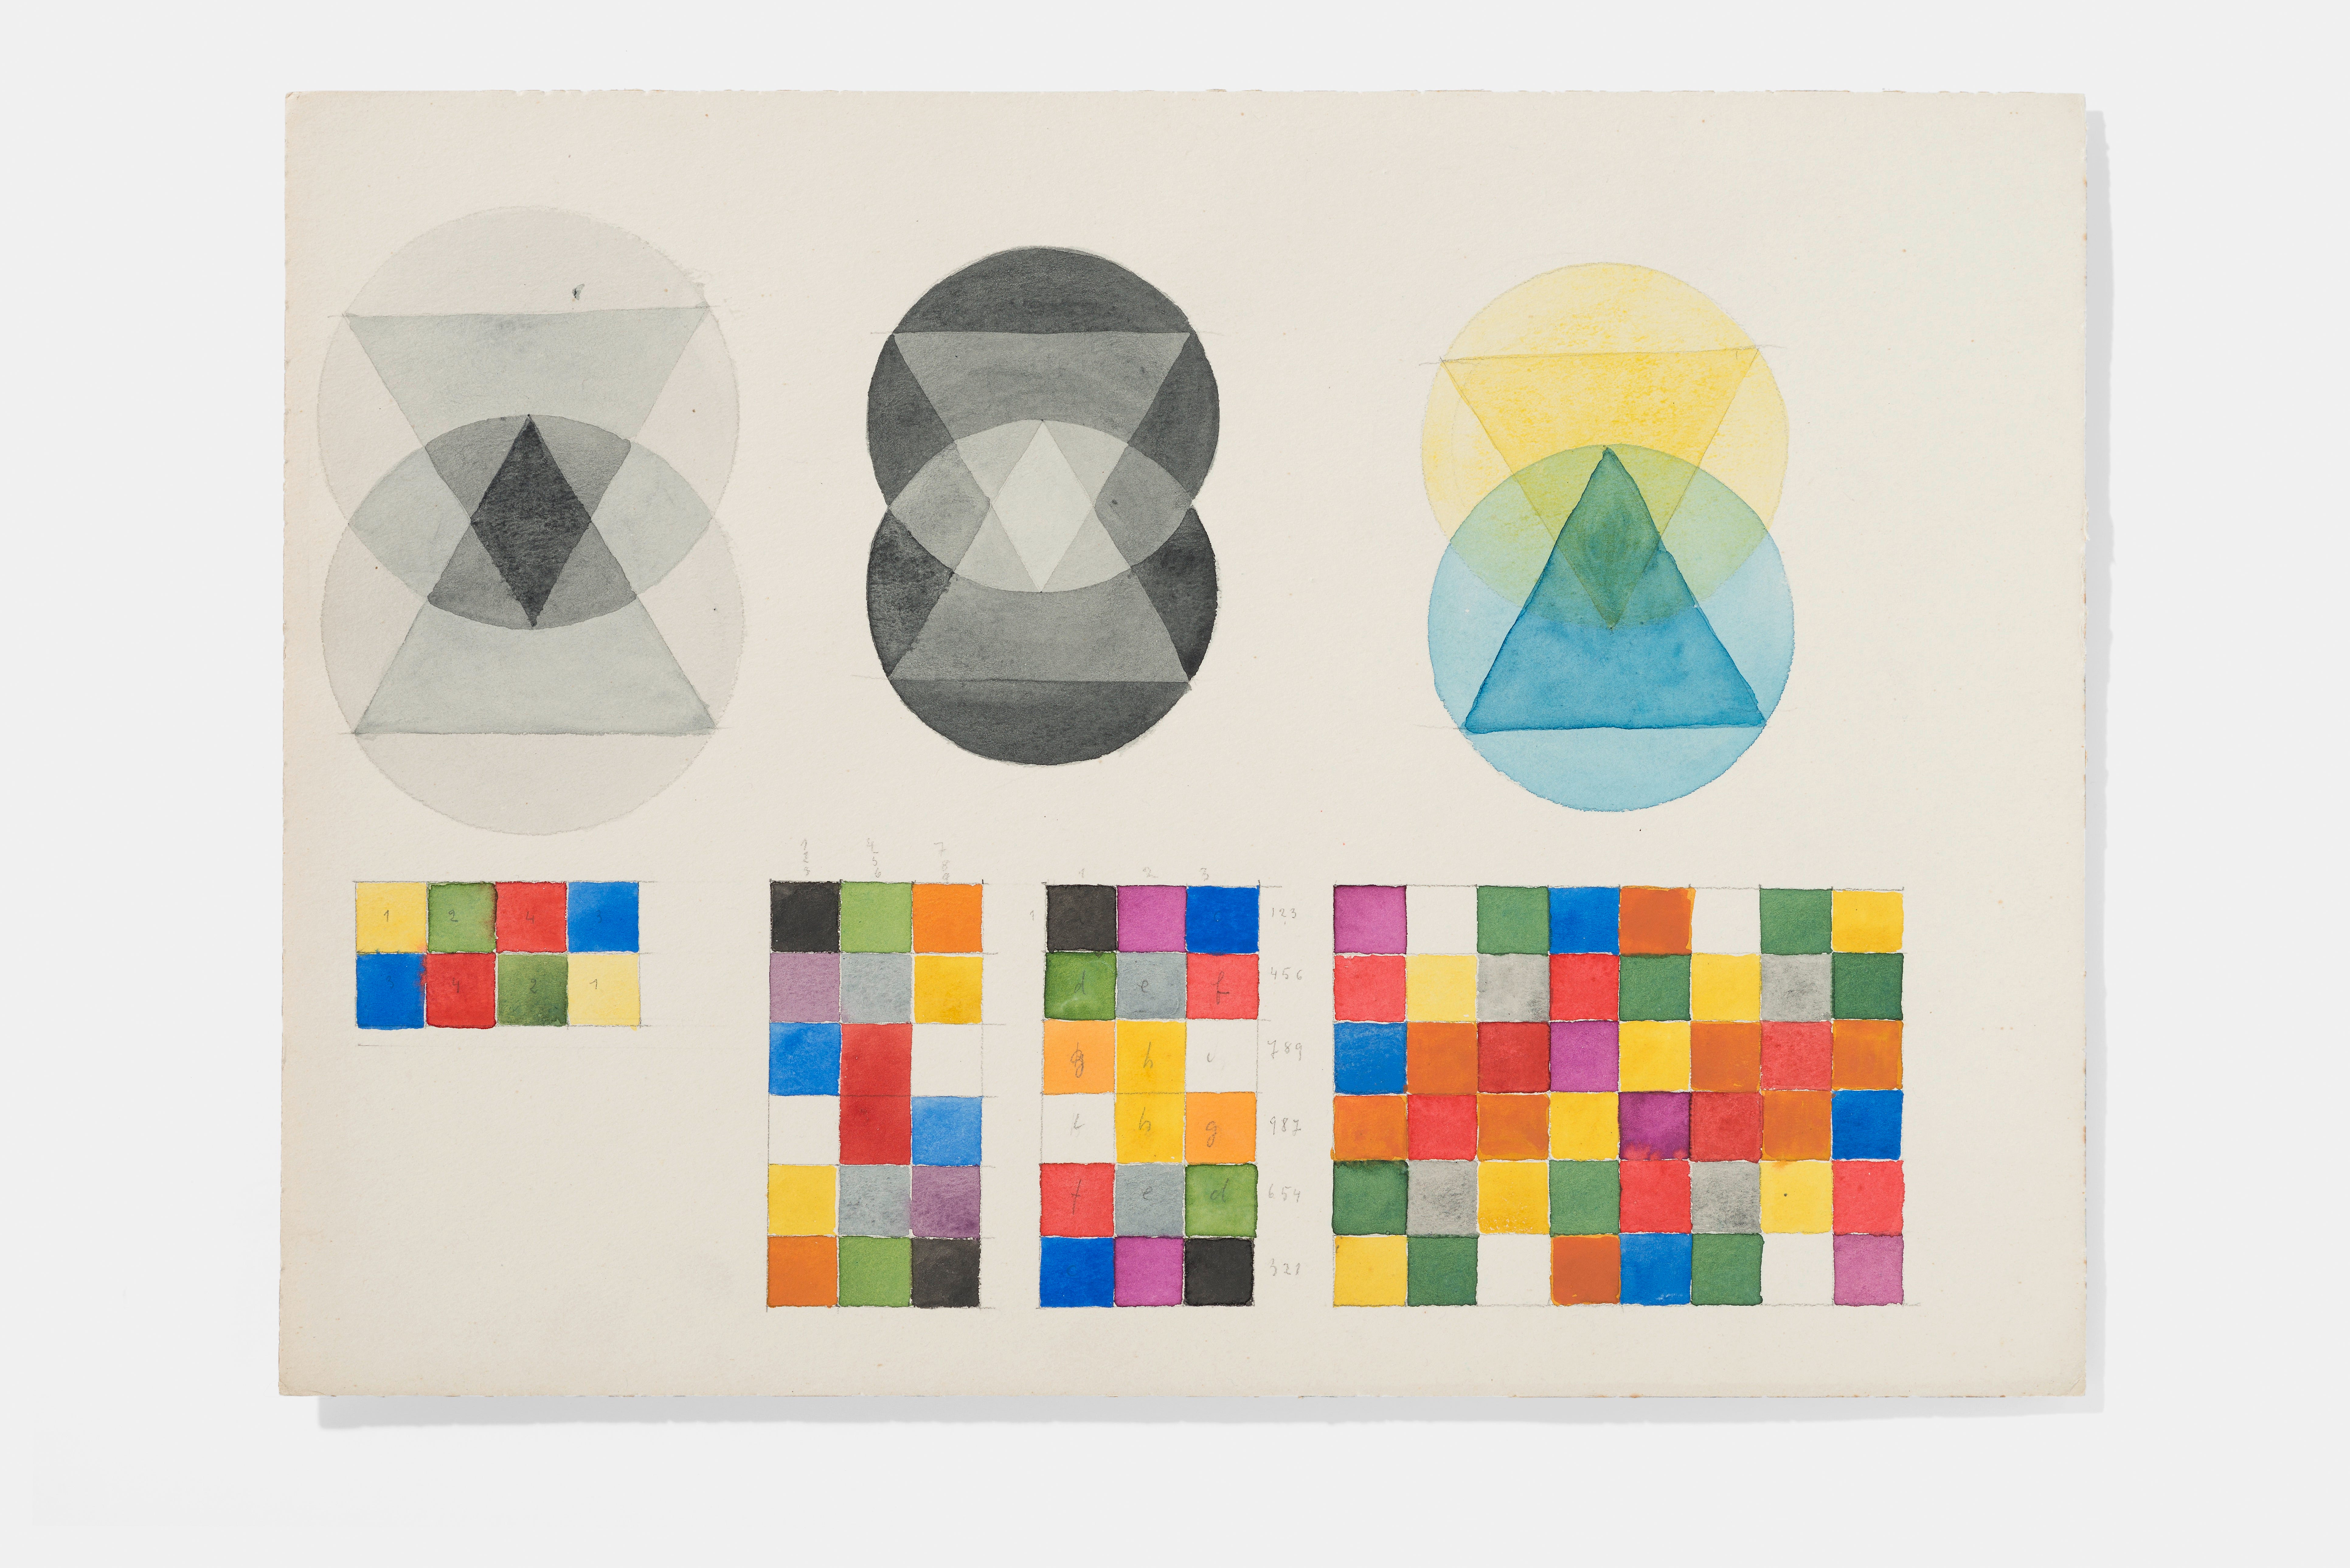
Create a single webpage that displays two different overlapping patterns. Experiment using any of the HTML or CSS properties learned so far. For this example, we will:
- Use only HTML & CSS.
- Use only black and white.
Examples
- Annie Albers, textiles
- Josef Albers, geometric painter
- Marcel Breuer, architecture
- Wassily Kandinsky, painting
Starter code for this tutorial can be found in this Github repository.
Solution
Color
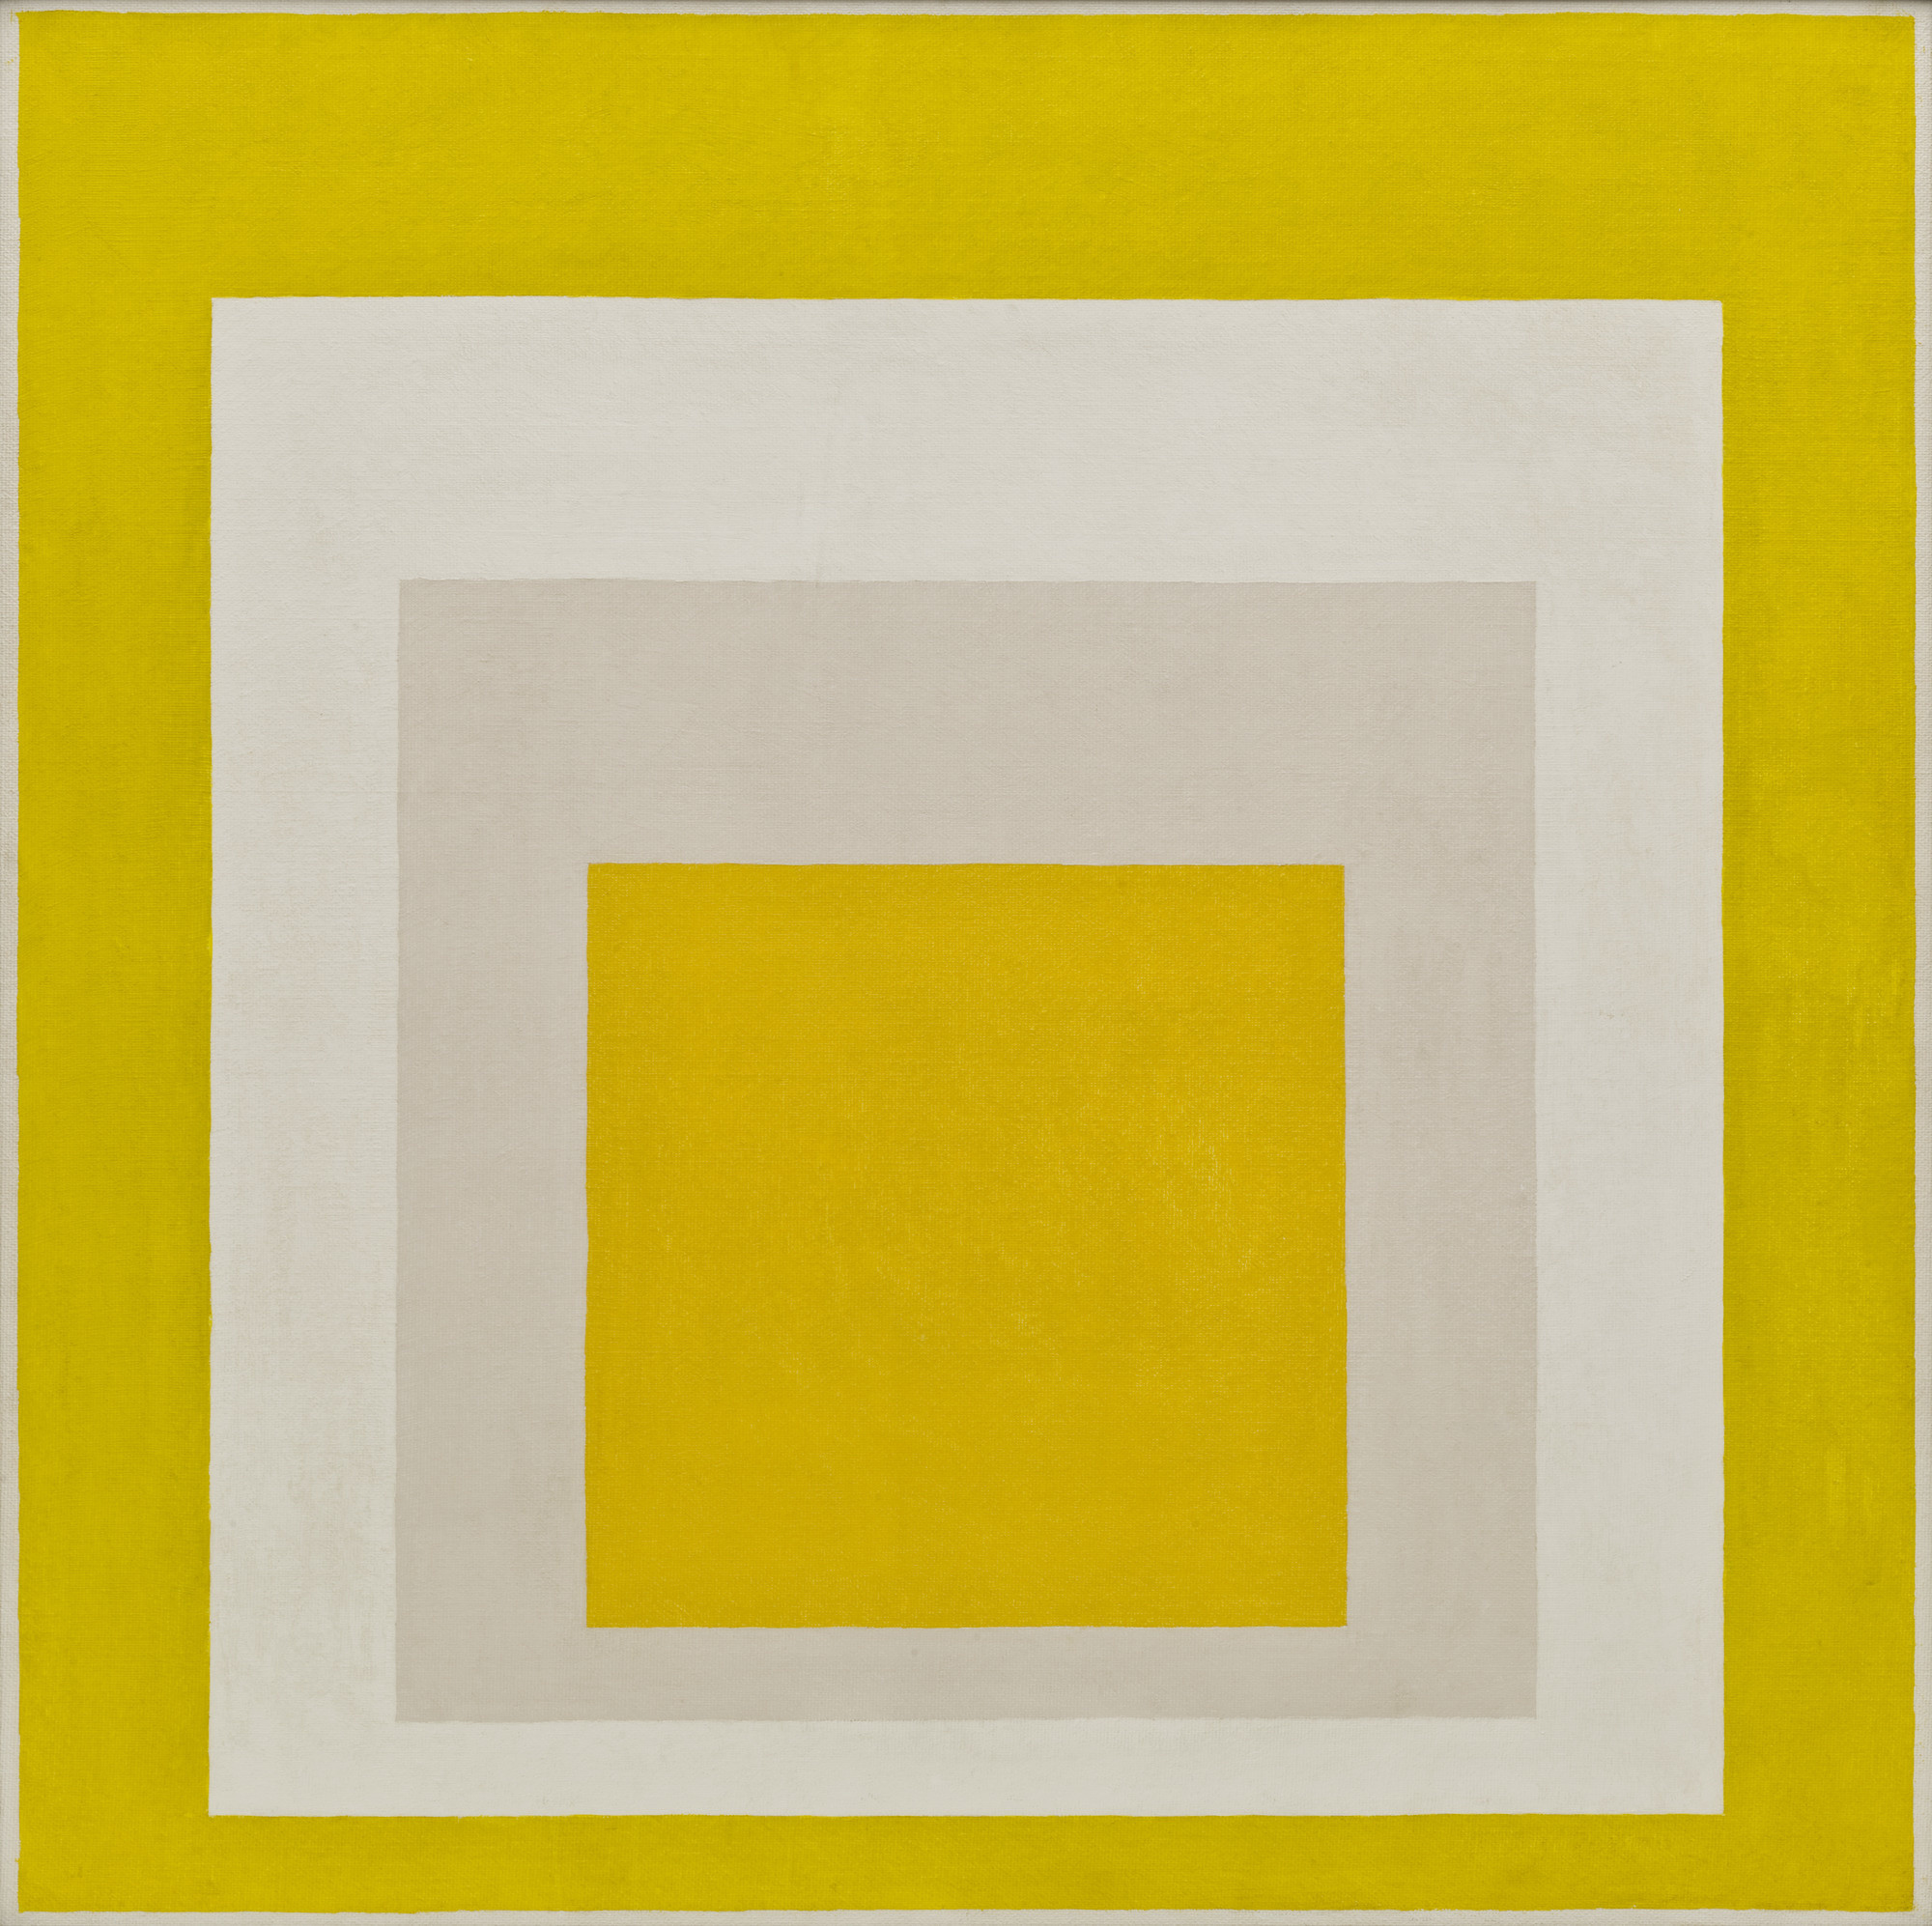
Color brings your web pages to life. Every color on a computer screen is created by mixing amounts of red, green, and blue. There are three ways to specify colors in CSS:
Color Keywords
These can be found on MDN and are case-insensitive keywords that represent a specific color. The chart on MDN also includes the RGB hex value. For example:
Using color keywords is good if you don’t need color precision.
Hexadecimal
Hexadecimal is a scale from 0 -> F with digits 0–9 the jumping to characters starting from ‘A’ to ‘F’ which altogether contains 16 different values.
If you see lots of numbers it will be very dark and if you see lots of letters it will be very light.
rgb() and rgba()
Colors can be defined according to their red, green, and blue components (the RGB model) by using hexadecimal and functional notations. The optional alpha component represents transparency. The RGB scale is from 0 to 255.
- Named Colors and Hex Equivalentsby Chris Coyier, Jan 29 2012, CSS Tricks
- Hex Color — The Code Side of Colorby Ben Gremillion, Smashing Magazine. October 4, 2012
List of font selection tools:
- HTML Color Codes, Dixon & Moe
- Adobe Color
- Color Claim, Tobias von Schneider
- CSS Gradient, Dixon & Moe
- Cool Backgrounds, Dixon & Moe
Web Typography
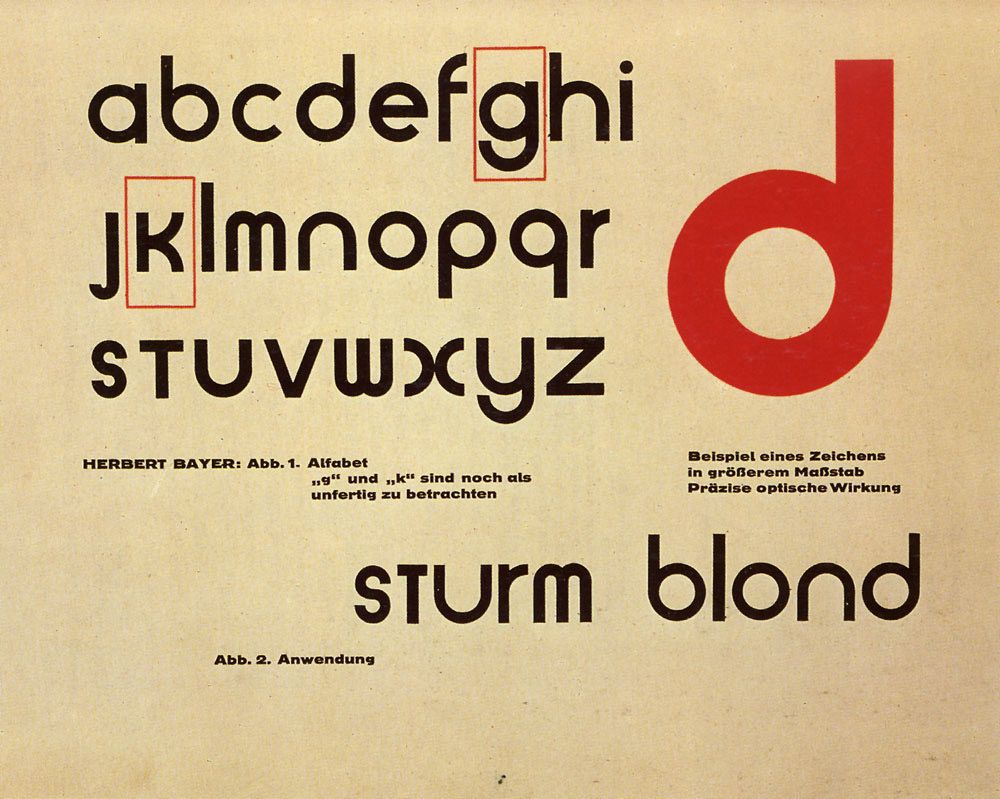
Web typography can be split into two groups: properties that affect the font and its appearance and those that have the same effect regardless of the font.
Readings
- Typography in 10 minutes, Practical Typography
- CSS Design: Size Matters by Todd Fahrner, May 11 2001, A List Apart
- How to Size Text using ems, 18 May 2004
- Web Typography: Using The Golden Ratio and REM’sby Greg Rickaby, May 19 2013
- Font Size Idea: px at the Root, rem for Components, em for Text Elementsby Chris Coyier, Dec 17 2015, CSS Tricks
- History of Web Typographyby Donny Truong, 2019
- Professional Web Typography, 2nd edition, by Donny Truong, 2019
List of font selection tools:
- Google Fonts
- Web Safe Fonts, Wikipedia
Selectors
The Class Selector. **The class selector finds elements with a specific class, and as an attribute, allows us to target several elements that may share similarities.
The ID Selector. **The ID selector uses the id attribute of an HTML tag to find one specific element. We can give any name we want to our ID attribute, besides the obvious reserved words, such as tag names, etc.
Specificity**. One of the most important concepts with CSS is specificity. Imagine you select an element by it’s class and give it some style; then, on the next line, you select the same element by it’s element name and it’s ID — how does the browser know what style to apply?
- The 30 CSS Selectors You Must Memorize, by Jeffrey Way, Tuts+, 9 Jun 2011
Tutorial 2.2
Background
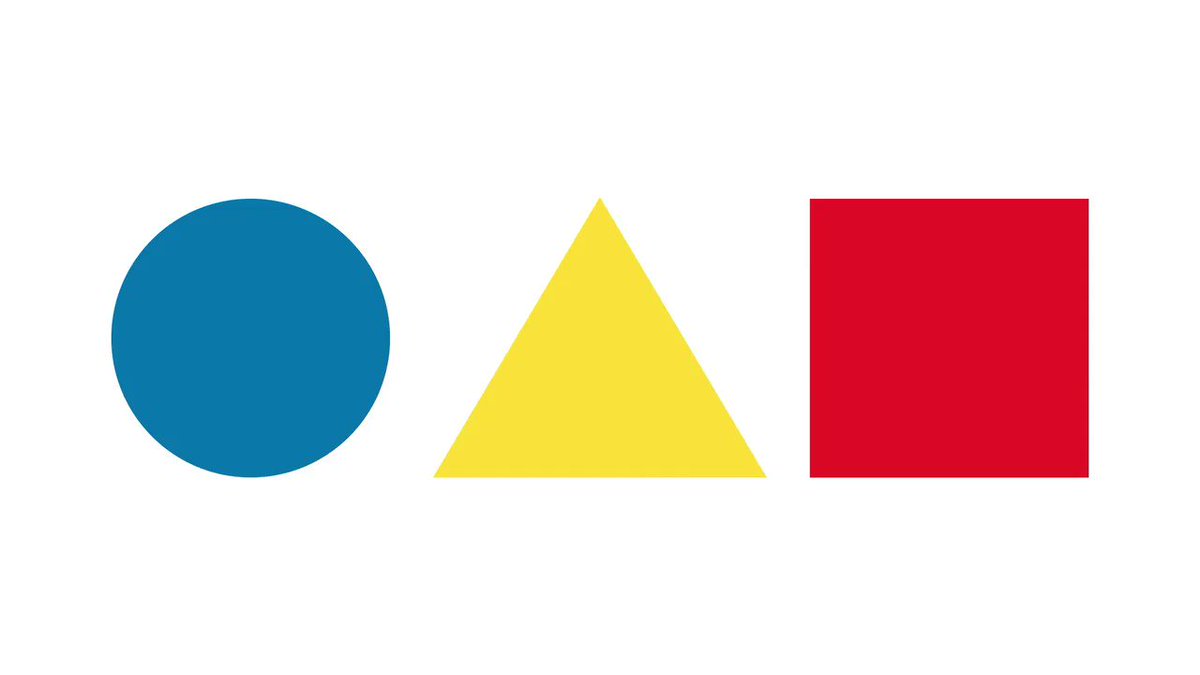
In 1923 Wassily Kandinsky circulated a questionnaire at the Bauhaus, asking respondents to fill in a triangle, square, and circle witht he primary colors of red, yellow, and blue. He hoped to discover a universal correspondence between form and color, embodied in the equation red=square, yellow=triangle, blue=circle. Years laster, some members of the Bauhaus dismissed Kandinsky’s fascination with these shape and color combinations as utopian aestheticism.
Instructions
Create a single webpage that displays two different overlapping patterns. Experiment with the visual output using the HTML and CSS properties we’ve covered so far. For this example, we will:
- Use only HTML & CSS.
- Use color and transparency.
Technique
Create HTML tags with the same class attribute to repeat styles across multiple elements, which should generate your pattern. Try different combination of repeating elements or classes to see what happens.
Keep In Mind
- Applying Gestalt Theory.
- Figure (the element in focus) and Ground (the background in which the element sits).
- Symmetry & Order.
Example
    <div class="square"> <div/>

    .square {
        width: 100px;
        height: 100px;
        background: #0000ff;
    }

    .circle-fill {
        width: 100px;
        height: 100px;
        background: #ff0000;
        border-radius:50px;
        float: left;
        margin: 15px;
    }

    .triangle {
        width: 0;
        height: 0;
        border-left: 50px solid transparent;
        border-right: 50px solid transparent;
        border-bottom: 100px solid #ffff00;
    }
Starter code for this tutorial can be found in this Github repository.
Solution
Box Model
All HTML elements can be considered boxes. Even if you see a circle, it lives within a box. This box will either be a block-level box or an inline box.
The CSS box model describes this principle — a box wraps around all HTML elements, and it consists of: margins, borders, padding, and the actual content. This model allows us to place a border around elements and space elements in relation to other elements.
Box Model Components
The image below illustrates the box model and what you should have seen in your dev tools:
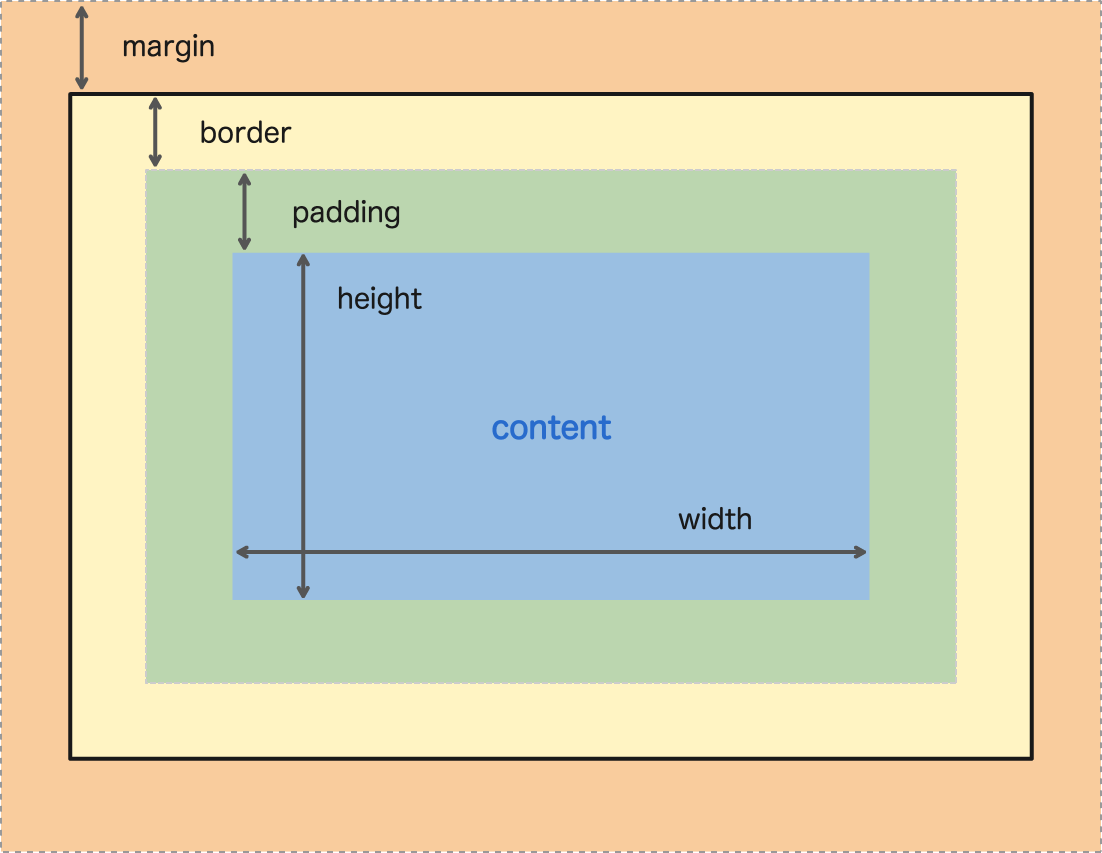
Source: The Box Model: Padding, Border, Margin by Alan Morel. Updated on April 30, 2018.
Exercise 2
Instructions
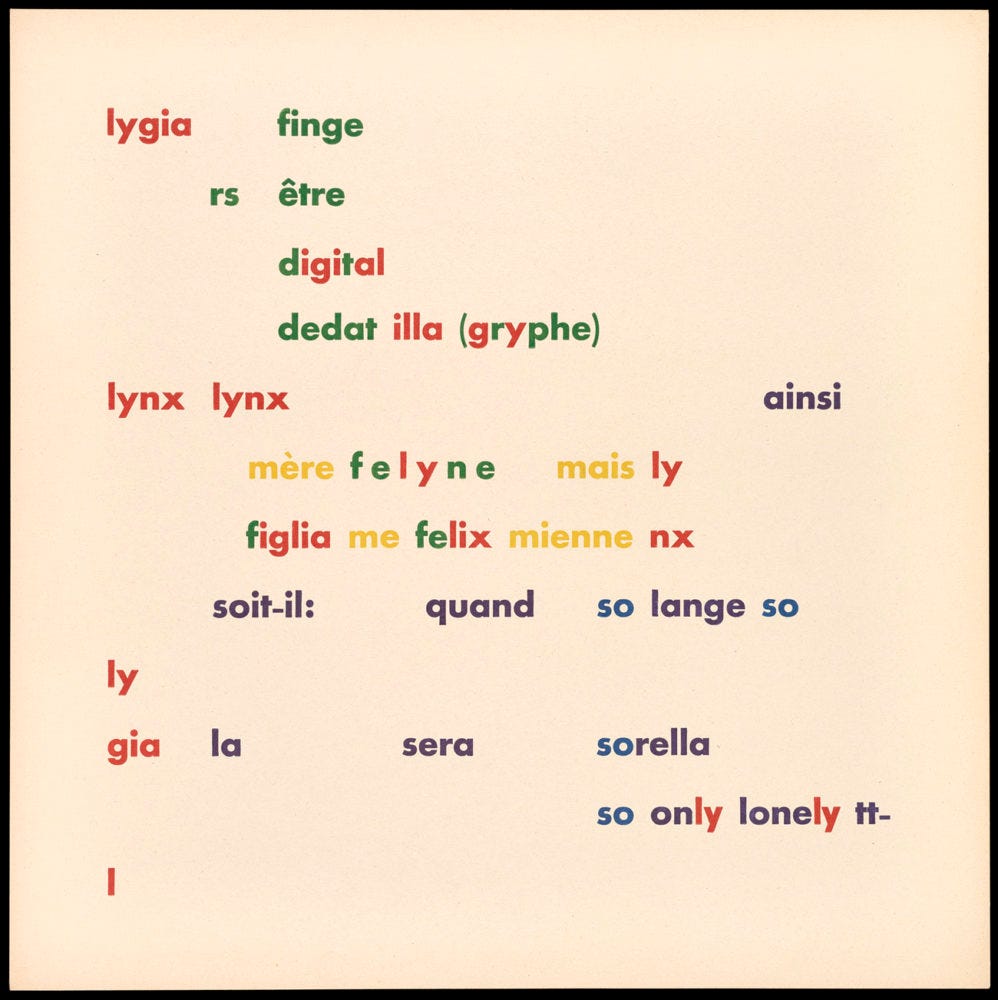
Using the five variations of your poem from HTML Basics. Each variation will be a separate web page. For these variations, focus on changing the poems form through shifts in spacing, scale, hierarchy and typography. The poem’s original content must remain intact.
Focus on positioning elements using CSS. Experiment with layering different elements. What is on top and what is behind? What is fixed?
Starter code for this tutorial can be found in this Github repository.